|

|
|
|
|
|
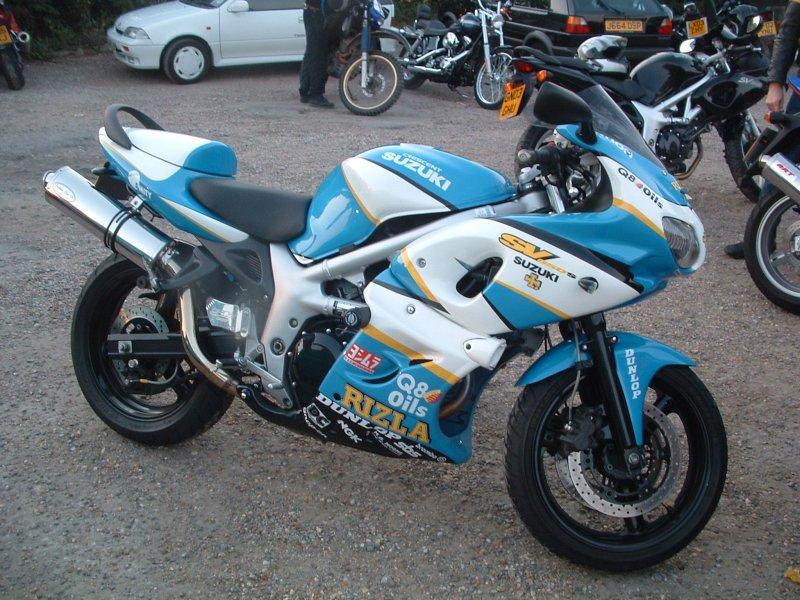
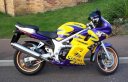
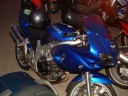
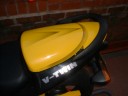
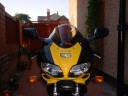
Aug 20 - Corona Colours
Hi John ,
Thought you might like to add my Corona sv650 by Dream machine.
Cheers PhilB
|
|
|
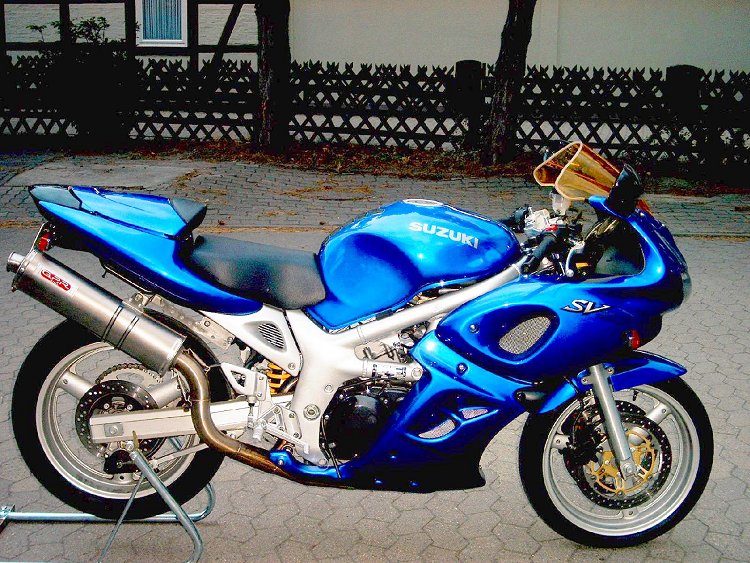
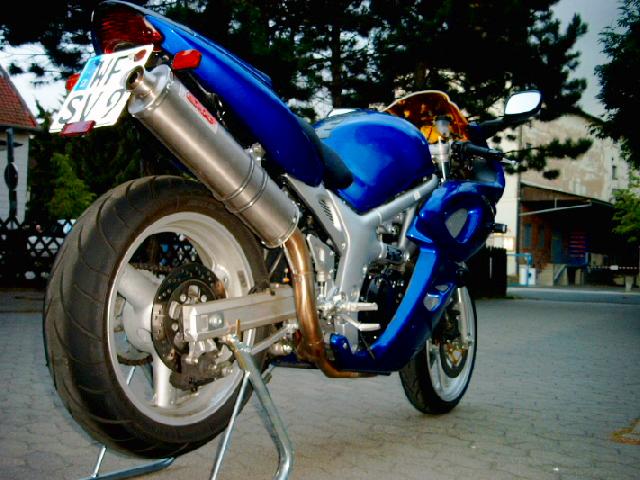
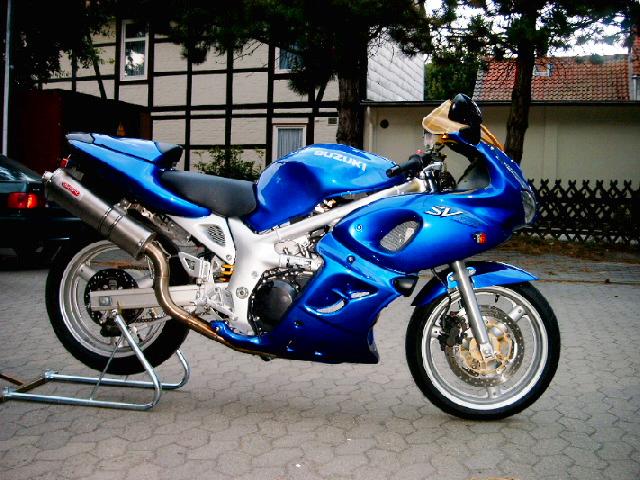
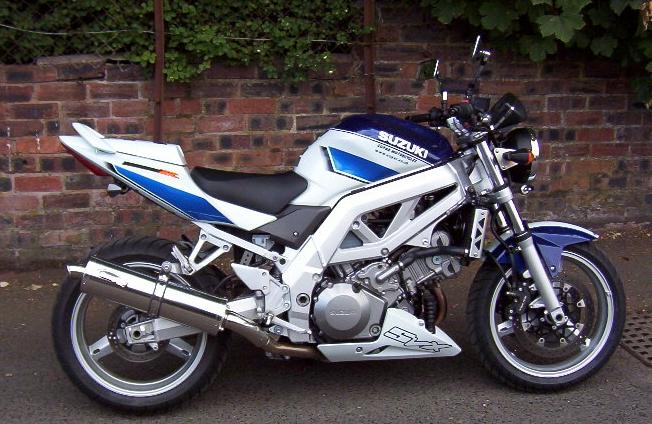
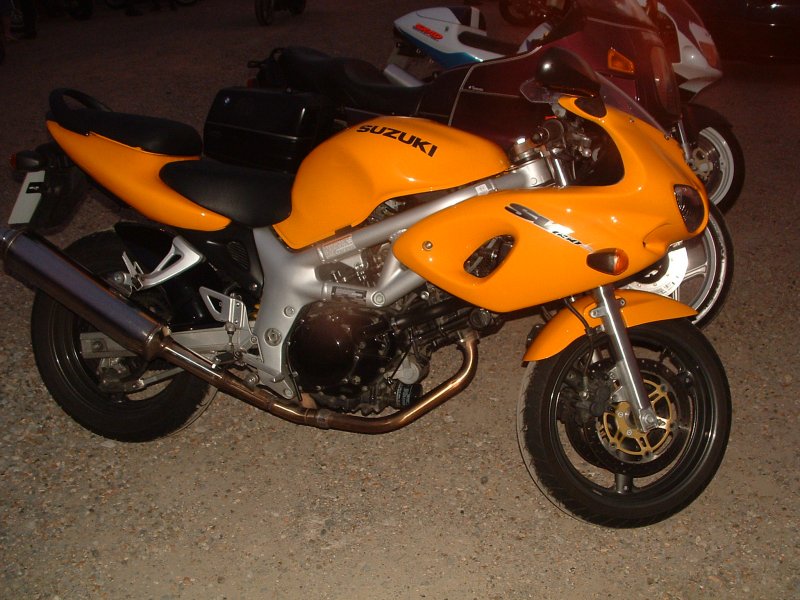
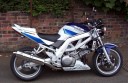
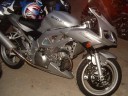
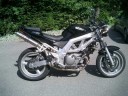
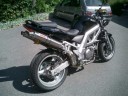
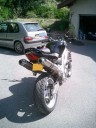
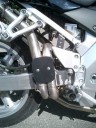
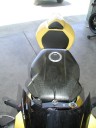
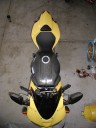
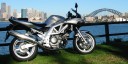
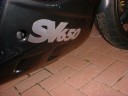
Aug 20 - Hello from Germany
Hi John,
here are some pics of my SV650S (2002)
Best regards
Matthias Oppermann from Germany
www.svrider.de

 
|
|
|
Aug 18 - Sticker update.
I've just sent payment to
Axxent for the next batch of site stickers and bodywork stickers. In other
words they are ready to ship. So hopefully they should be here in a few
days. John
|
|
|
Aug 18 - So good the first
time, that it's worth a repeat.
Hello again John,
a few more photos of the gorgeous SV1000 With the back end sorted out.
all the best......Roger


|
|
|
Aug 18 - Steve Jelly's European
tour page has been updated
|
|
|
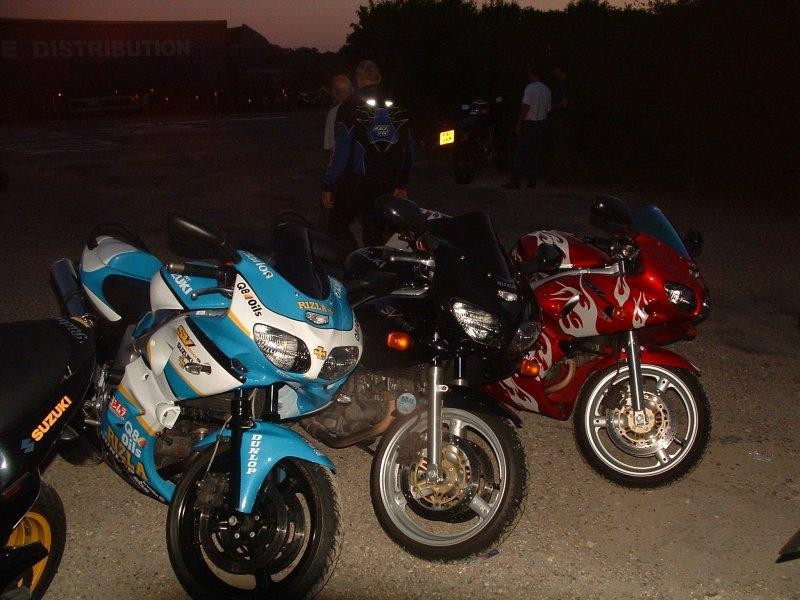
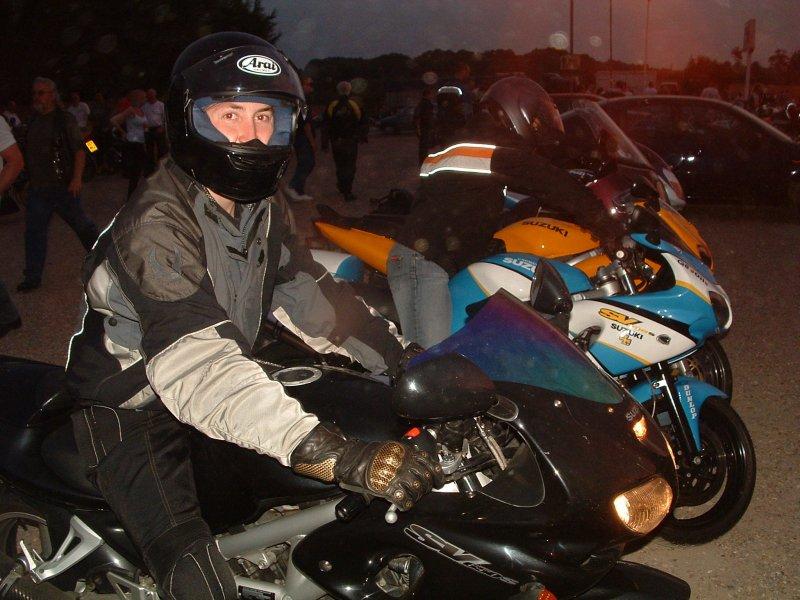
Aug 18 - Oakdene Meeting
Hi john just a quick note and some images from a little meeting that seems to
be happening more and more and some great pictures.
We all seem to be meeting up at the Oakdene cafe every
Wednesday. The first week 5 sv's but last week we hit 7 sv's so Kent people are slowly beginning to
come out of the wood work. Becoming a good night out now, soon be asking for a
Oakdene massive on the Forum. Well here a couple of pixs from the last 2 weeks.
I hope the pixs are ok for the site. Sorting out a rideout for the 24th to camber and hopeful get some nice pixs
and video.
see ya
cheers john


|
|
|
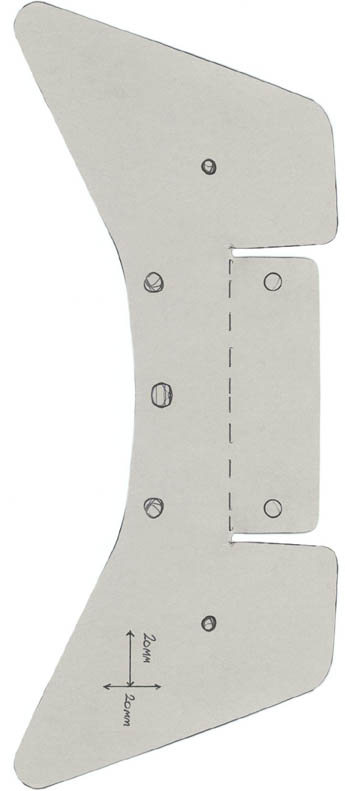
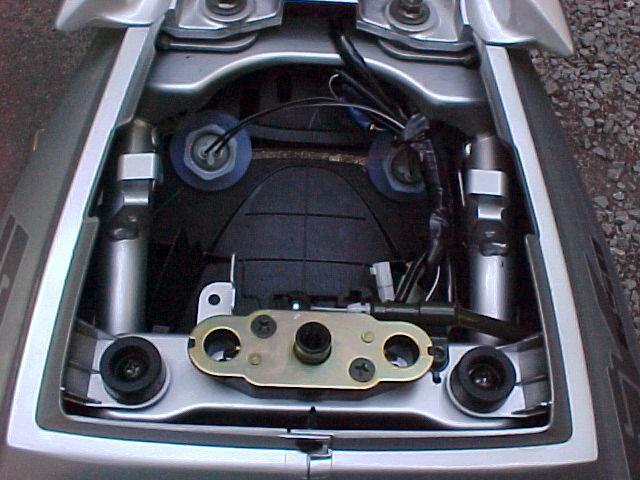
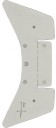
Aug 18 - Mk2 SV undertray mods
from Andy Heppleston
Hi John
As promised, attached are the pics of the undertray mods I made to fill the gap when the rear mudguard is removed. Unlike Jim Christians in the
US, really you need something that is watertight for the UK (don't we all wish we didn't!!!!!). I was going to paint it but after fitting it
to ensure the contours are correct, I like it as Ali and so am just going to polish and lacquer it. I put some of that foam that is
adhesive on one side on the underside of it so it's a nice fit.
I have also attached a drawing of the bracket that is to scale in case anyone wants to have a go.
Anyone got any questions, please shout.
Andy Andy.Heppleston@compusys.co.uk
P.S The three holes that are on line on the curve of the bracket are
optional, they are for indicator and plate light wires to go through but I decided to put them through the undertray itself. I already had a
mini Indicator bracket that I modified but if anyone is looking to use the design, it would be easy enough to make up or buy one off the shelf.I am also looking to use some laser bolts for plate lighting and mount
them in the tail pointing slightly back.
|
|
|
Aug 16 - New parts appearing for the mk2 SV
Hi john.
I was looking among all yor links for lower fairings for my future SV650S '03 when I found this one:
http://www.extremegraphicfsmd.com/Html/En/sv1000.htm
Two undertails and one belly pan (called lower fairing) for all '03 SVS.
It's not what I want, but I hope it's the start of many new offerings
from different companies and... why not... Suzuki itself based on April month data. ;)
Andrea Nenni
|
|
|
Aug 16 - More new parts appearing for the mk2 SV
Hi,
Just a look at this site http://www.projet-x.com
There is good parts for SV 650.
best regards
David Craff
david.craff.mototuning.com@mototuning.com
http://www.projet-x.com/produits/suzuki/sv650_2003.php
|
|
|
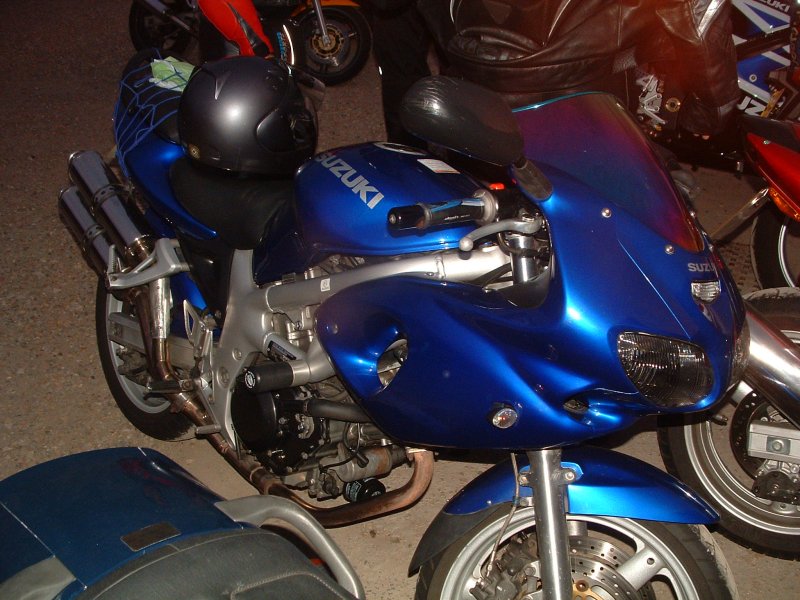
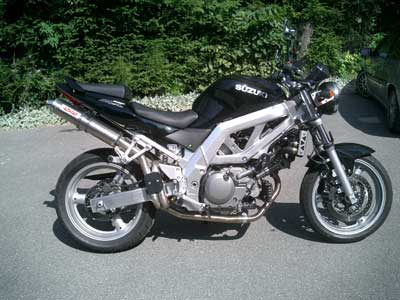
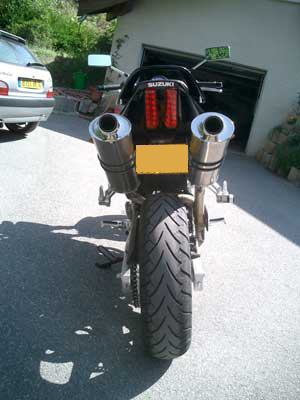
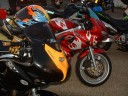
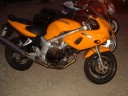
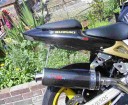
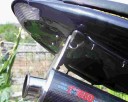
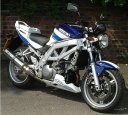
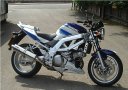
Aug 16 - Short and sweet from
Bruno
Hi from france,
here are some pics of my new sv650 with gpr ehausts and some pics of my old
svs.
bruno micard


|
|
|
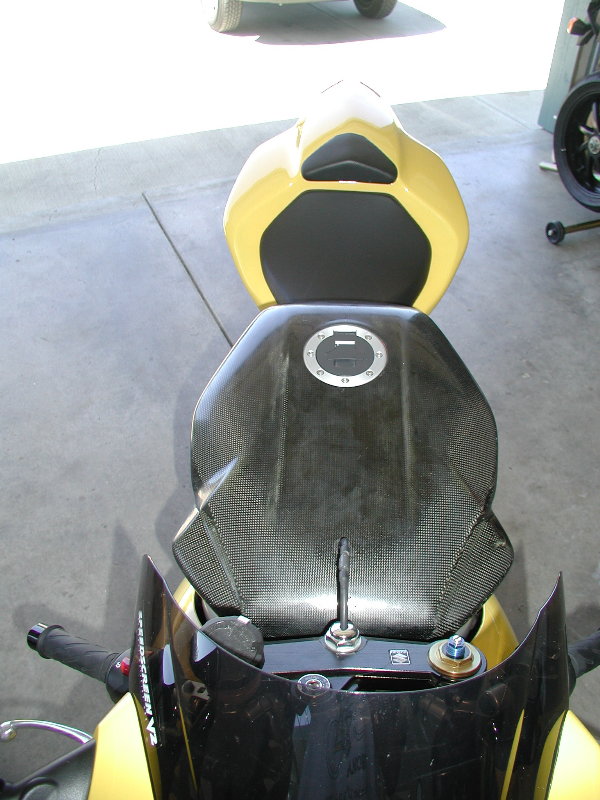
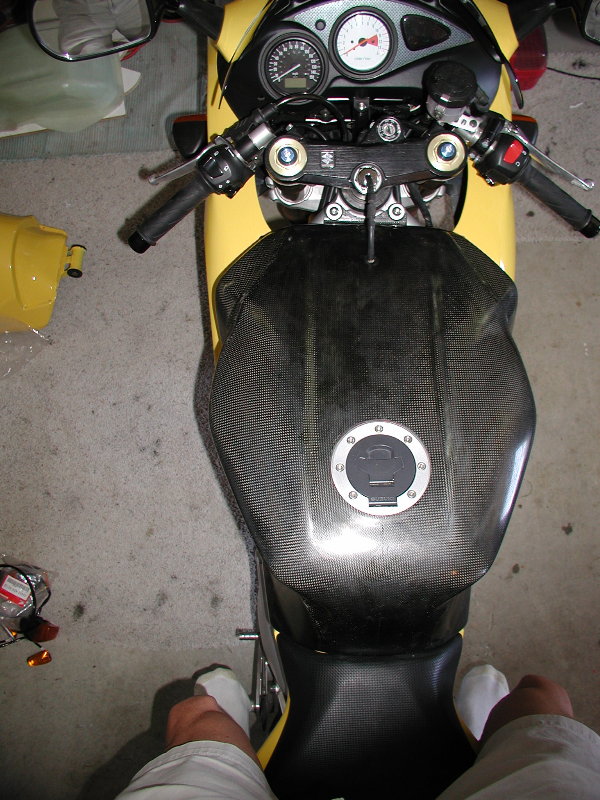
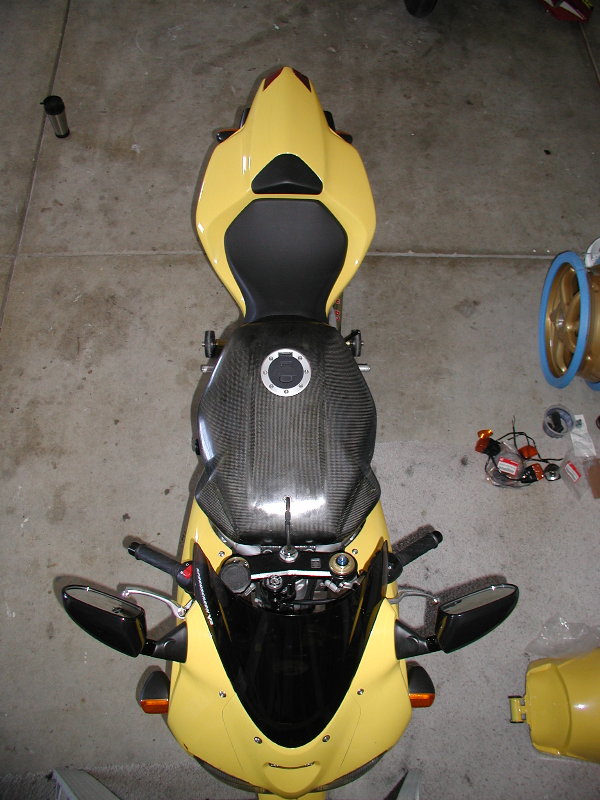
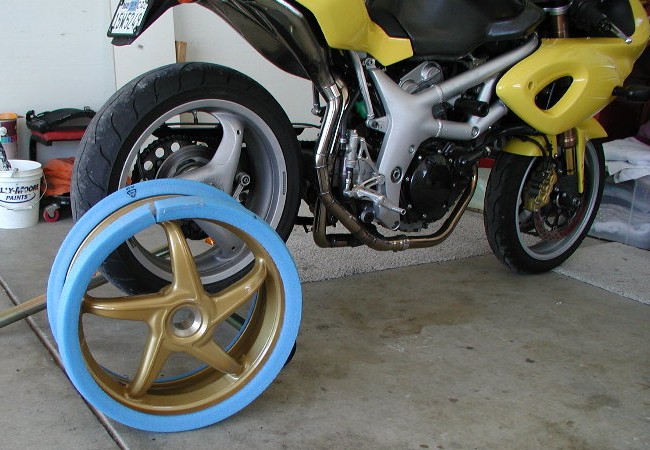
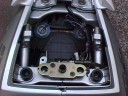
Aug 16 - Chris Baker update
John,
The carbon tank LIVES! I fitted it this morning and took it for its maiden voyage. I swear I can feel the difference in weight...maybe
that's just me wanting to believe all the effort was worth something. For sure, it looks very cool. Initial reaction from the other riders I ran
into at the coffee shop was positive. Everyone agrees the front fairing needs replacing. Too roundy and smooth. So it continues...next I'll do the
front and then it's TOTALLY apart, powder coat the frame, swinger, misc little stuff. New paint, wheels, (I also got the Wave rotors). Then I'll
be back to you with another write up and hopefully a 'front page' feature on your site.
(sounds good to me ;-D)
I've attached a couple pics of the fitted tank. (Note the factory locking
gas cap.) Also threw in a pic of the rear Dymag. Ohhhh, it's so pretty...front should be in this week. I'll send pics as it
comes together. Post these if you'd like or wait until it's all done. (Like that
will ever happen...)
(some of us can't wait, so I'll post them pronto for us to slobber over)
Cheers and Ride Safely.
Chris

|
|
|
Aug 16 - Sites webs partenaires
Hello, I send this mall to you because we have an exchange of links between our
two sites motorcyclists and informs you of the new address and banner of my
(which was called before www.bdouze83.fr.st
).
Thank you and good road.
Bests Regards,
Gérard.
Site : http://www.motogemax.fr.st
|
|
|
Aug 5 - Follow up from Jim
Christian (see Aug 1 below)
Well, sorry I took so long, but I really don't like computers. I can't really
give you step by step instructions because it's been so long and my buddy and I
were just winging it as we went along. I can give you pictures and it's not
really that hard to figure out the gist of it by yourself.
Materials you might need: stock tool kit, 10mm ratchet, dremmel tool, wire
crimpers, pair of flushmount turnsignals
First step is to take out the little plastic rivets that are all around the
bottom, I'd never worked with these before but you just have to poke them in the
middle and they come apart. Some are a little tricky but I have big fat fingers
and was able to get them all out anyway. After this, continue to take off
bolts, screws, and trim pieces until you have the entire tail piece loose.
Next trace the wires out so you know which of the harnesses lead to which light. There's the tail light, the left signal, right signal, and the
license plate light (won't be needing this one any more). I didn't label them, but I got
lucky and everything worked out fine.
Once you've got the tail section off, you can pretty easily get to the two bolts
that hold that mudflap on if you have the 10mm ratchet. Just get those bolts
out and a little muscle will get that ugly bastard off. Now you'll notice that
the undertail piece hangs down a little more than before. I wanted to run an
integrator kit, so I just put everything back together and used two of the
bolts from the mudflap to hold the undertail piece up.
Turns out the integrator would have to be sent back to the factory with my tail
light to get it working properly, so I bought a pair of flush mounts. I had
used the two screw holes at the end of the aluminum struts and decided to put
the flushmounts right there. I cut a hole for the flushmount so that the threaded shaft was right next to the spar and when the plastic nut threads onto
it, it sandwiches the undertail piece and the aluminum spar between it and the
lens of the turn signal.
To make the wiring simple, cut about six inches off the old wiring out of the
mudflap/turnsignal unit, and re-use the coupling. If you plug the appropriate
coupling into the right lead, then you just have to crimp the to leads that come
out of the new signal with the stripped ends of the two wiring harnesses you
salvaged from the old unit.
Some electrical tape, you're stoked. Costs less than $25 for the whole job.
Oh, yeah, the license plate holder, put it wherever you want. I don't like them
much, they've never done much for me, so I put it right were the battery box is.
If you use the stock nuts and bolts, you have to put the head of the bolt on
the inside of the battery box and the nuts on the outside or else the battery
won't sit down in it's box. It doesn't really show up to well in the pics
because I still don't have my plates, but trust me, it's damn near invisible.
These instructions might help you visualize this evolution, but there's no
reason you can't just get in there and figure it out yourself. When you've got
so many things taken off the bike that your beginning to think you'll never get
it all back together right, then you're almost there.
Yeah, I just read Andy's email, and I know that m-shaped gap he's talking about
and can't imagine caring about that little bit, at least not enough to spend any
money on fixing it, and especially when the stock undertail piece fits so closely. It's less than half an inch or however many centemeters that would be
for y'all across the pond there.
It's Monday night here and I'll probably check my email again before I leave for
Hot August Nights in Reno on Wednesday. Going on about a thousand mile run with
a friend on the new R6, back next weekend. Anyway, hope this helps.
Jimbo

|
|
|
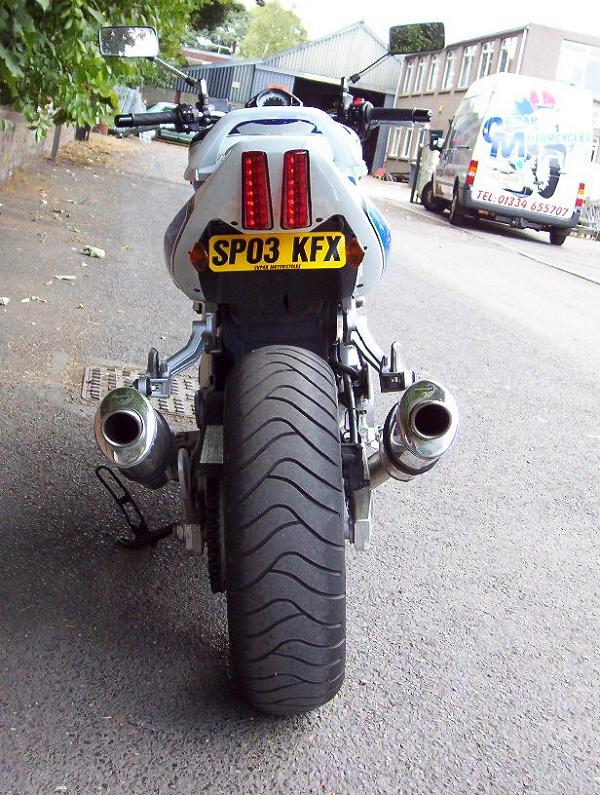
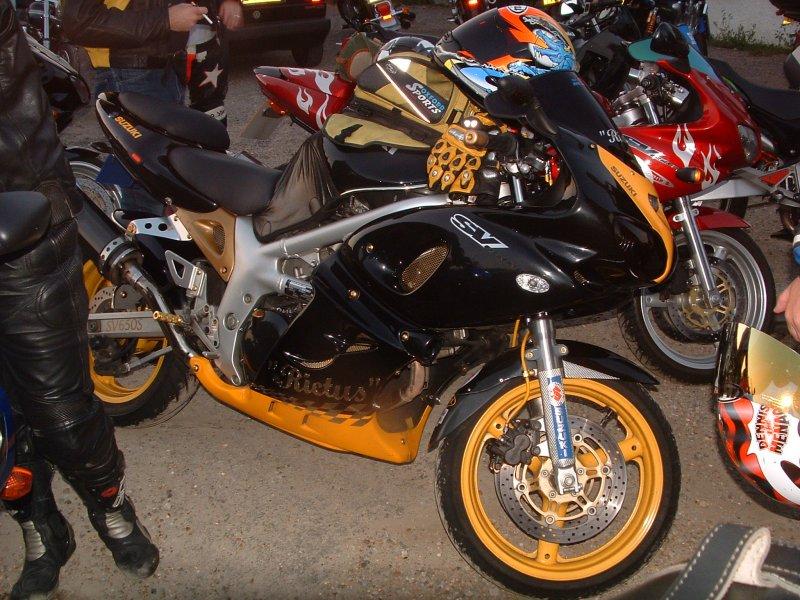
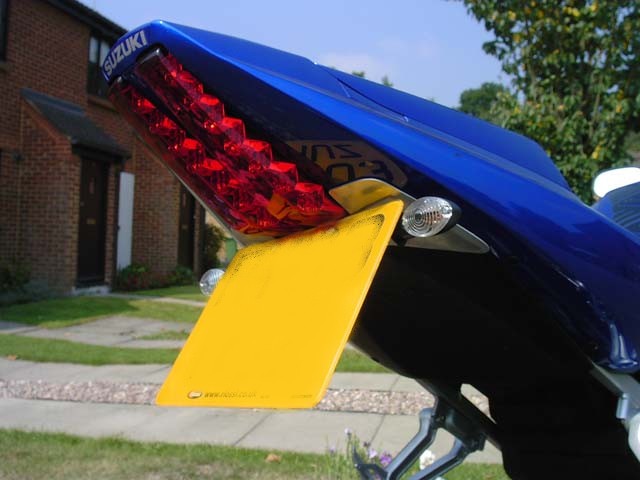
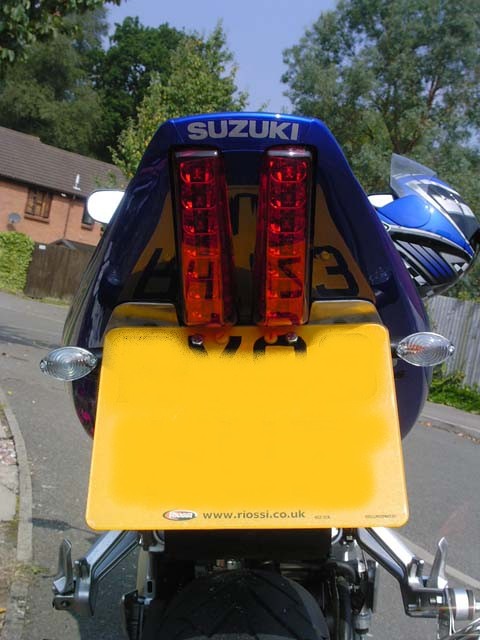
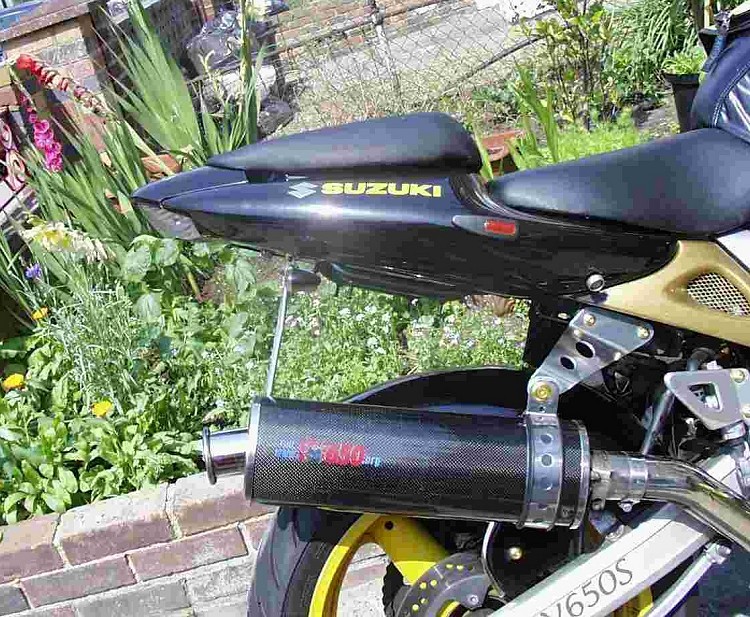
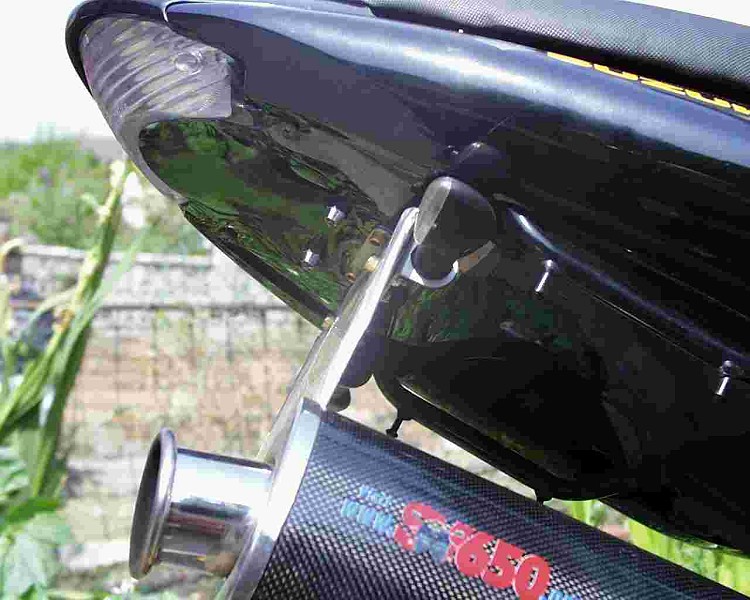
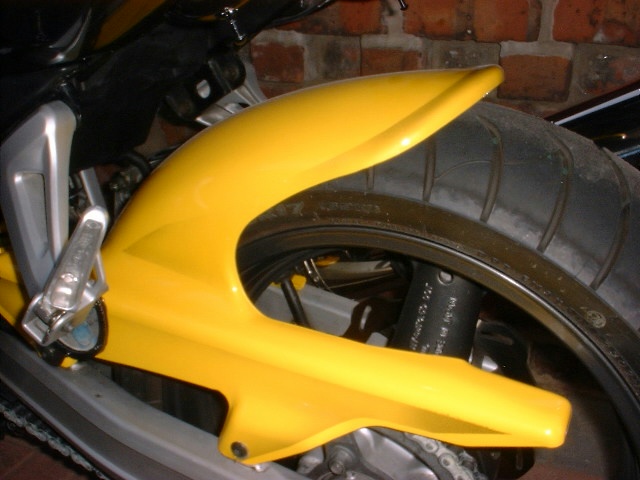
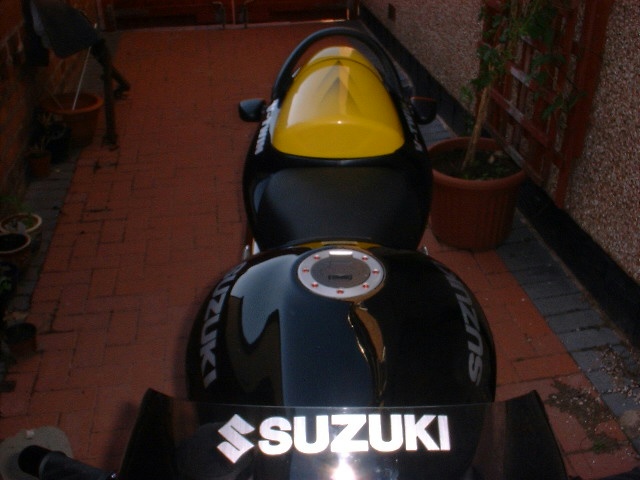
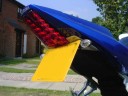
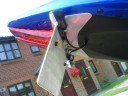
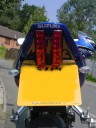
Aug 5 - Fender be gone
John,
I've been looking to remove the rear fender for sometime now and found the job
weegaz22 done on his, after going to his web site it all looked a bit complicated, the cutting out/ folding to angles and spraying and such like.
So in my own way (cheap) I Looked at ways to get the same effect with less work.
I negated the spraying and folding by getting a sheet of gloss black 1mm 18 x 14
ABS plastic from a model shop. It can be cut with scissors and the extra pushed up inside the rear bodywork.
The whole thing took about an hour to do, the cost was as follows
1. plastic sheet £2.54
2.R'end £6 of eBay( (£14.99 new)
3. 2 x white LED bolts £7.99.
I've attached a couple of pics, I'm more than happy with the results.
Cheers Mark. (Rictus)
|
|
|
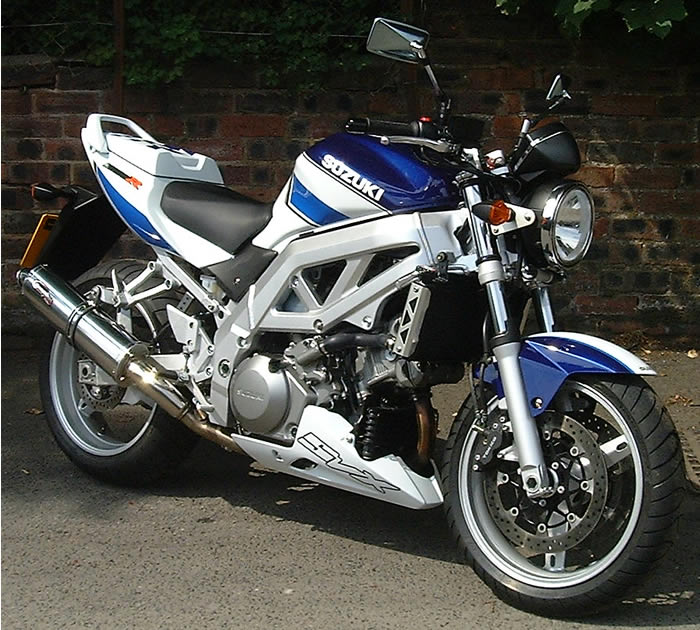
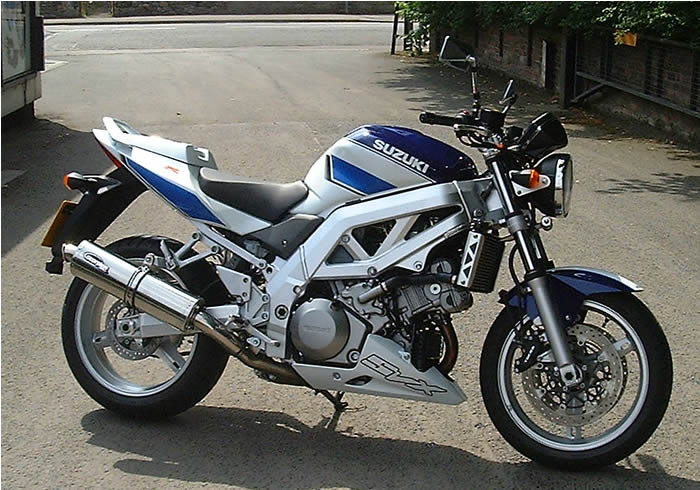
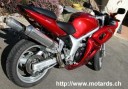
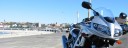
Aug 5 - SV's in front of
famous landmarks
Hi John,
Yes, riding the SV650S certainly is fun I am always on the lookout for an excuse to the missus, thanks for providing one.
In keeping with the Landmark suggestion here a couple of shots.
Regards John
  These
are great photo's. Many Thanks. Let's see more photos like this, even
humble places like the tea shack in Epping forest would be great. As John
S says, it's an excuse to get the bike out. These
are great photo's. Many Thanks. Let's see more photos like this, even
humble places like the tea shack in Epping forest would be great. As John
S says, it's an excuse to get the bike out.
|
|
|
Aug 5 - Bracket help required
DEAR JOHN I HAVE JUST BOUGHT A SECOND HAND SET OF LOWER FAIRINGS FOR MY SV
WITHOUT ANY BRACKETS. IF YOU HAVE ANY PICTURES ON THE SV WEBSITE THAT MAY
HELP ME OUT ON THE FITTING OF THE FAIRINGS COULD YOU PLEASE SEND ANY IMAGES THAT
ARE AVAILABLE. ANYTHING WOULD BE OF A GREAT HELP
THANKYOU STEVE H stevehambling@supanet.com
|
|
|
Aug 1 - Big Ian's back on the road
Hi John, here's the last of the piccys, bike back on road, thank goodness, ill catch
what's left of the summer, lol.................cheers
Ian, bought some of my
Brushed Ali stickers as part of his rebuild and has been sending me pix so
that I can see what they look like attached to a real SV.

|
|
|
Aug 1 - Follow up from Andy's
note last month (Jul
24)
Hi John
Thought I'd give you an update on what I have done and found out regarding removing the rear mudguard on my K3. After much searching and
coming to the decision of buying an undertray, I then found (with the help of people on the web etc.) a bracket that someone has designed that
will hold the number plate and cover the 'M' shapes gap that is left after removing the rear mudguard. It is designed for the SV1000 but it
should fit the 650. It's a make it yourself bracket that then uses a Motrax
rrsend(?) adjustable indicator bracket. Links to the thread on the Sv1000 web site where the pictures and design drawing of the bracket is
below and Motrax is at www.motrax.co.uk
www.sv1000.zyns.com/index.php?act=ST&f=2&t=39&st=45
Looking at the bracket I think I'll give this a try before making any undertray decisions.
Cheers
Andy
|
|
|
Aug 1 - Cupar Special
Hello John, I contacted you last year to show you the
Cupar motorcycles special promo SVX650R,
Now we have the SVX1000R Cupar special, so i thought I would send you a couple of images. the spec is as follows, standard SV1000 K3, Scorpion oval s/s
race cans, Suzuki seat cowl, genuine sv1000s belly pan, paint work design by
Roger @ cupar motorcycles. future plans are to remove the rear mud guard which
we have already done on a few customers bikes. I hope you all like it? if anyone
has any questions on buying the SV Range or accessories please mail me at
Roger@cupar.co.uk .
all the best......Roger
|
|
|
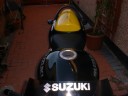
Aug 1 - Simple SK3 mudguard
mod from Jim Christian
John, like your site. Love these bikes. Got
a little story you might want for the site.
I just got the `03 SV650 Naked and the site
of the mud flap on the back of the thing was driving me crazy. I was
calling everywhere and going to every shop to find an undertail kit. It's
so new though that there really isn't much of anything out there. I did
eventually find a kind-of shady site that said it had a kit for two
hundred dollars, but when I called the number they never picked up.
The other day I just had to do something so
my buddies and I started taking reflectors and stickers and crap off the
bike. I was prepared to take a hacksaw to the mud flap if need be, but
when I took off the tail section, we didn't need to. The mudflap and the
lower part of the tail are separate pieces, and with the flap removed, the
other piece fills the gap almost perfectly. The only thing is that
something has to hold up the very aft end of the plastic, since the screws
for that are in the piece I removed. For this I'm using a pair of
flush-mount tail lights and I've rigged them up so they pinch the rubber
up against the aluminum struts in the tail.
Basically twenty bucks and two hours of
phun, no bloody nuckles or anything and I've got the cleanest tail on any
SV. If you think anyone would like the info, I could probably come up with
a step-by-step, I wish someone had told me how easy it was. I've even got
pictures. If you want to post them that would be cool. If you want to
refer someone to my email, that's cool too. I would never turn down
helping someone with their bike. Jim Christian
I've already written back
to Jim asking for pix. Sounds like a very simple and effective mod to me.
|
|
|
Aug 1 - Project SV website
Greetings,
I thought I'd let you know I've had a link to your chat forums from my site's General Information area for roughly a year now. I just realized I
had overlooked asking months back for you to review the web site here and then should you find it of interest to you and your site viewers that you in
turn would include a web link to the site here from your links area.
Best regards,
Miles
WEB URL: http://PROJECT-SV.COM
Website Title: PROJECT-SV.COM for SUZUKI SV & SVS RIDERS
Website Description: A self help project web site for SUZUKI SV and SVS motorcycles with instructions on various Modifications and Maintenance
Projects performed on these fun bikes.
|
|
|
Aug 1 - A John O'Groats update
from Wayne Campbell
John,
I have just about collected in all of the sponsorship money now and it comes
to £175. I will be adding £25 so that makes £200. I didn't realise before doing the trip but my company, NTL, has a community
fund and I applied for some money through that. I am delighted to report that NTL is making a donation of £250 to Hope House
so that makes a grand total of £450, all in Kevin's name. I shall be sending my cheque in next week and Hope House will receive
a cheque direct from NTL straight away.
Regards, Wayne Campbell.
Well done Wayne, this is
excellent news. I've just spoken to Kevin's wife. The plan is for her and
the children to pop along to Hope House. Kevin's children will have the opportunity
to choose the equipment/toys that will be bought in Kevin's
name. I think that's quite fitting.
|
|
|
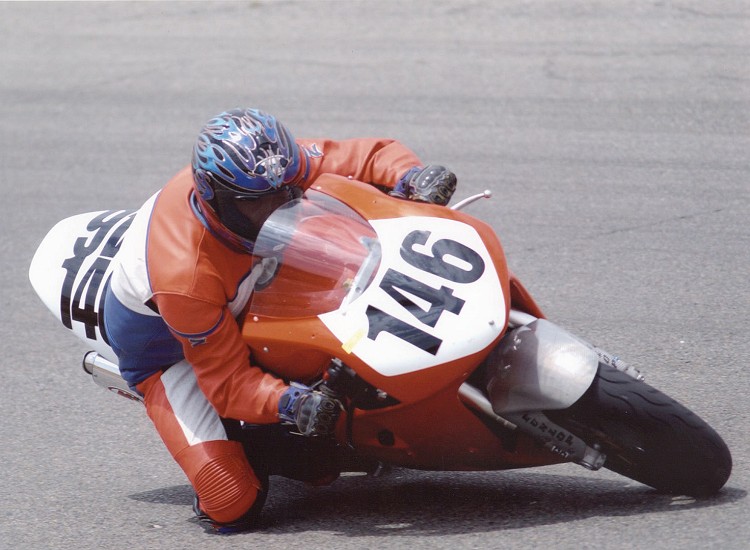
Aug 1 - Cory Mann
John, I am sending this email on behalf or
my friend Cory Mann, he is racing with WSMC in So. Cal this year. I have
included a recent picture of him and just wanted to let you know that he
is doing great this season so far. He spent the last year make MAJOR
modifications to his bike. So far he has placed 8th, 5th, two 3rd places
and a 2nd. He is standing in 2nd place in GT Light class for 2003. Just
wanted to send along a picture in hopes that you could post it for him. If
you would like any more information you can email him at: cory.mann@attws.com
Thank you again, Renee
 Don't
keep us in suspense, what major mods? We need to know :-) Don't
keep us in suspense, what major mods? We need to know :-)
Renee replied, "full superbike motor, one-off ohlins shock and steering
damper, 00'gsxr forks racetech'd with attack clamps, ducati radiator, Marvic
wheels, Brembo brakes"
|
|
|
Aug 1
Not been a busy month on
the bike front, I've hardly been out on it apart from the daily commute.
Probably due to the weather and other commitments. July is MOT time
and the SV sailed through. I wasn't expecting any problems but you never
know.
The big news of the month
was the new forum. I can't say how pleased I am with it. The extra
features make my life so much easier, at last I can reset forgotten
passwords and create boards on the fly. Even little things like the
avatars bring a smile to my face, some of the images are great. Thanks to
my sponsor, Steven Nance, for his help and funding.
Site stickers are sold out
at the moment. The next batch will contain the revised logo and will be
printed on a white background. Apparently the clear background is a
nightmare for the printer. Also if the lettering on the sticker matches
the background that the sticker is stuck too, then the lettering disappears,
so white should solve that problem. More bodywork stickers are also on
their way.
John
|
|
| German
Webring Nächste
Seite
Vorige
Seite
Alle
Seiten
|
|